
Migrate my note flask app from ecs to pi
So to cutdown some cost on hosting my tnote flask app - tnote.tdinvoke.net, I’m hoping to move it down to my pi4. But I don’t want to deal with port forwarding and ssl certificate setup. So enter cloudflare tunnel, it’s not perfectly safe as cloudflare can see all traffic going to the exposed sites but since these are just my lab projects, I think I should be fine.
I need to use my tdinvoke.net domain for the sites, so I had to migrate my r53 dns setup over to cloudflare.
- Move all my dns records to cloudflare manually. I don’t have much so it’s pretty painless. Note: All my alias records to aws cloudfront need to be created as CNAME - ‘DNS only’ on cloudflare.
- Point my registered domain name-servers to cloudflare name-servers.
Migration from ecs was not too bad since I just need to spin up the containers on my pi.
Here’s an overview flow of the setup:
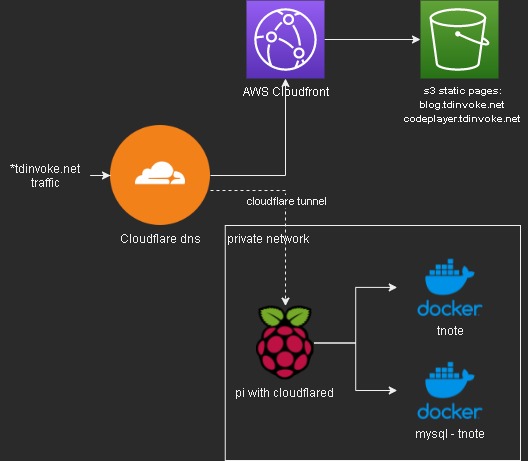
More information on cloudflare tunnel and how to setup one - here.
Charybdis wireless keyboard
Intro
Recently I switched over to use split keyboards and tried out the lily58 and cornekb v4. I’m really enjoying the split and ortholinear layout but I still feel like they are missing something. The layout is great but I think with the flat surface it’s a bit hard to reach out for the outer keys with my pinky. Also, I’m learning vim and discover how easy I can get in “the flow” with limited use of the mouse. So I set out to find a keyboard with sort of curved keywell and a trackball (I’m getting rid of the mouse), and I stumble on the Charybdis Keyboard.
This is my build blog for the charybdis mini keyboard, designed and created by BastardKeyboards and wireless version made possible by EIGA and VOIDed mods - https://www.youtube.com/watch?v=Mks7QDxFreY
Research
There are lots of information on building a wire version on BastardKeyboards page. They are actually very helpful, so I recommend have a read through even if you want to build the wireless version.
https://docs.bastardkb.com/bg_charybdis/01index.html
This is the only wireless build blog, that I can find on the net. Which is super helpful, it wouldn’t be able to complete this build without this blog. Huge thank to erenatas for putting it together!
https://github.com/erenatas/charybdis-wireless-3x6
Watching this nano build let me map out and understand all the steps that I need to do.
https://www.youtube.com/watch?v=0RGcVYeuxNM
Gathering parts
erenatas build guide listed out the parts for Europe region, so please follow his list if you’re in EU.
I’m in Australia so here’s my updated version of the parts that I got from Amazon, AliExpress and Keebd.
| Name | Count | Link |
|---|---|---|
| Trackball | 1 | Amazon AliExpress search is terrible. I’m sure there are trackballs available but I just can’t search for. |
| nice!nano microcontroller | 2 | Keebd |
| (optional) mill max sockets | 2 | Aliexpress |
| SOD123 Diodes | 41 | Aliexpress |
| Button, 4x4x1.5 | 2 | Aliexpress |
| PMW3610 module | 1 | Aliexpress |
| Mini Toggle Switch TS-6 SPDT | 2 | Aliexpress |
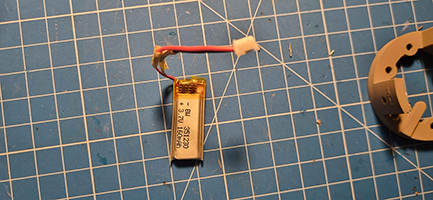
| Batteries | 2 | Keebd.This is me from the future, try search for one with a jst connector plug. (aliexpress should have them as well) |
| Ceramic Bearing Balls 2.5mm | 3 | Aliexpress |
| Flexstrip Jumper Cables | 2 | Aliexpress |
| Key Switches | 41 | I already have some hmx cloud switches available on hand. So I’m going to use them for this build. |
| M3 5mm Brass Melt Nuts | Aliexpress | |
| M4 5mm Brass Melt Nuts | Aliexpress | |
| M3 8mm Torx Screws | Aliexpress | |
| M4 8mm Torx Screws | Aliexpress | |
| JST plug 2-pin | 2 | Aliexpress |
| Hot swap socket | 82 | This is me from the future, do not try to hotswap the switches, it’s not possible. Trust me. |
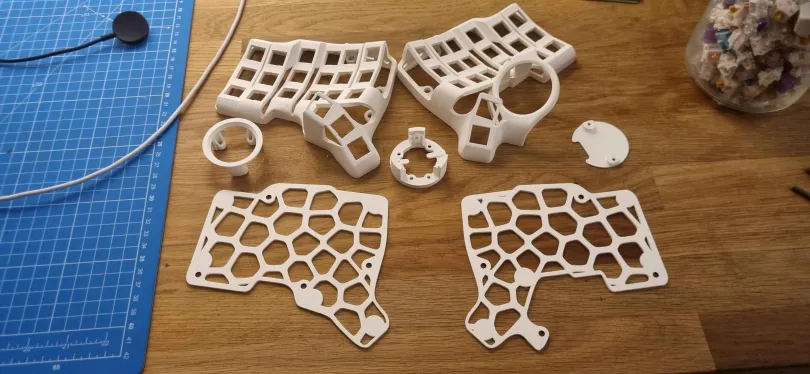
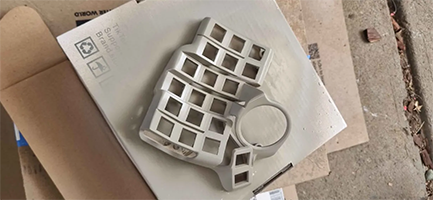
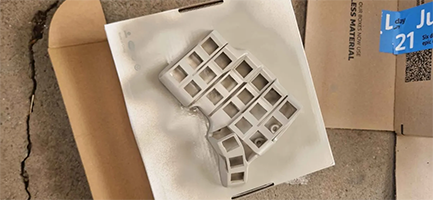
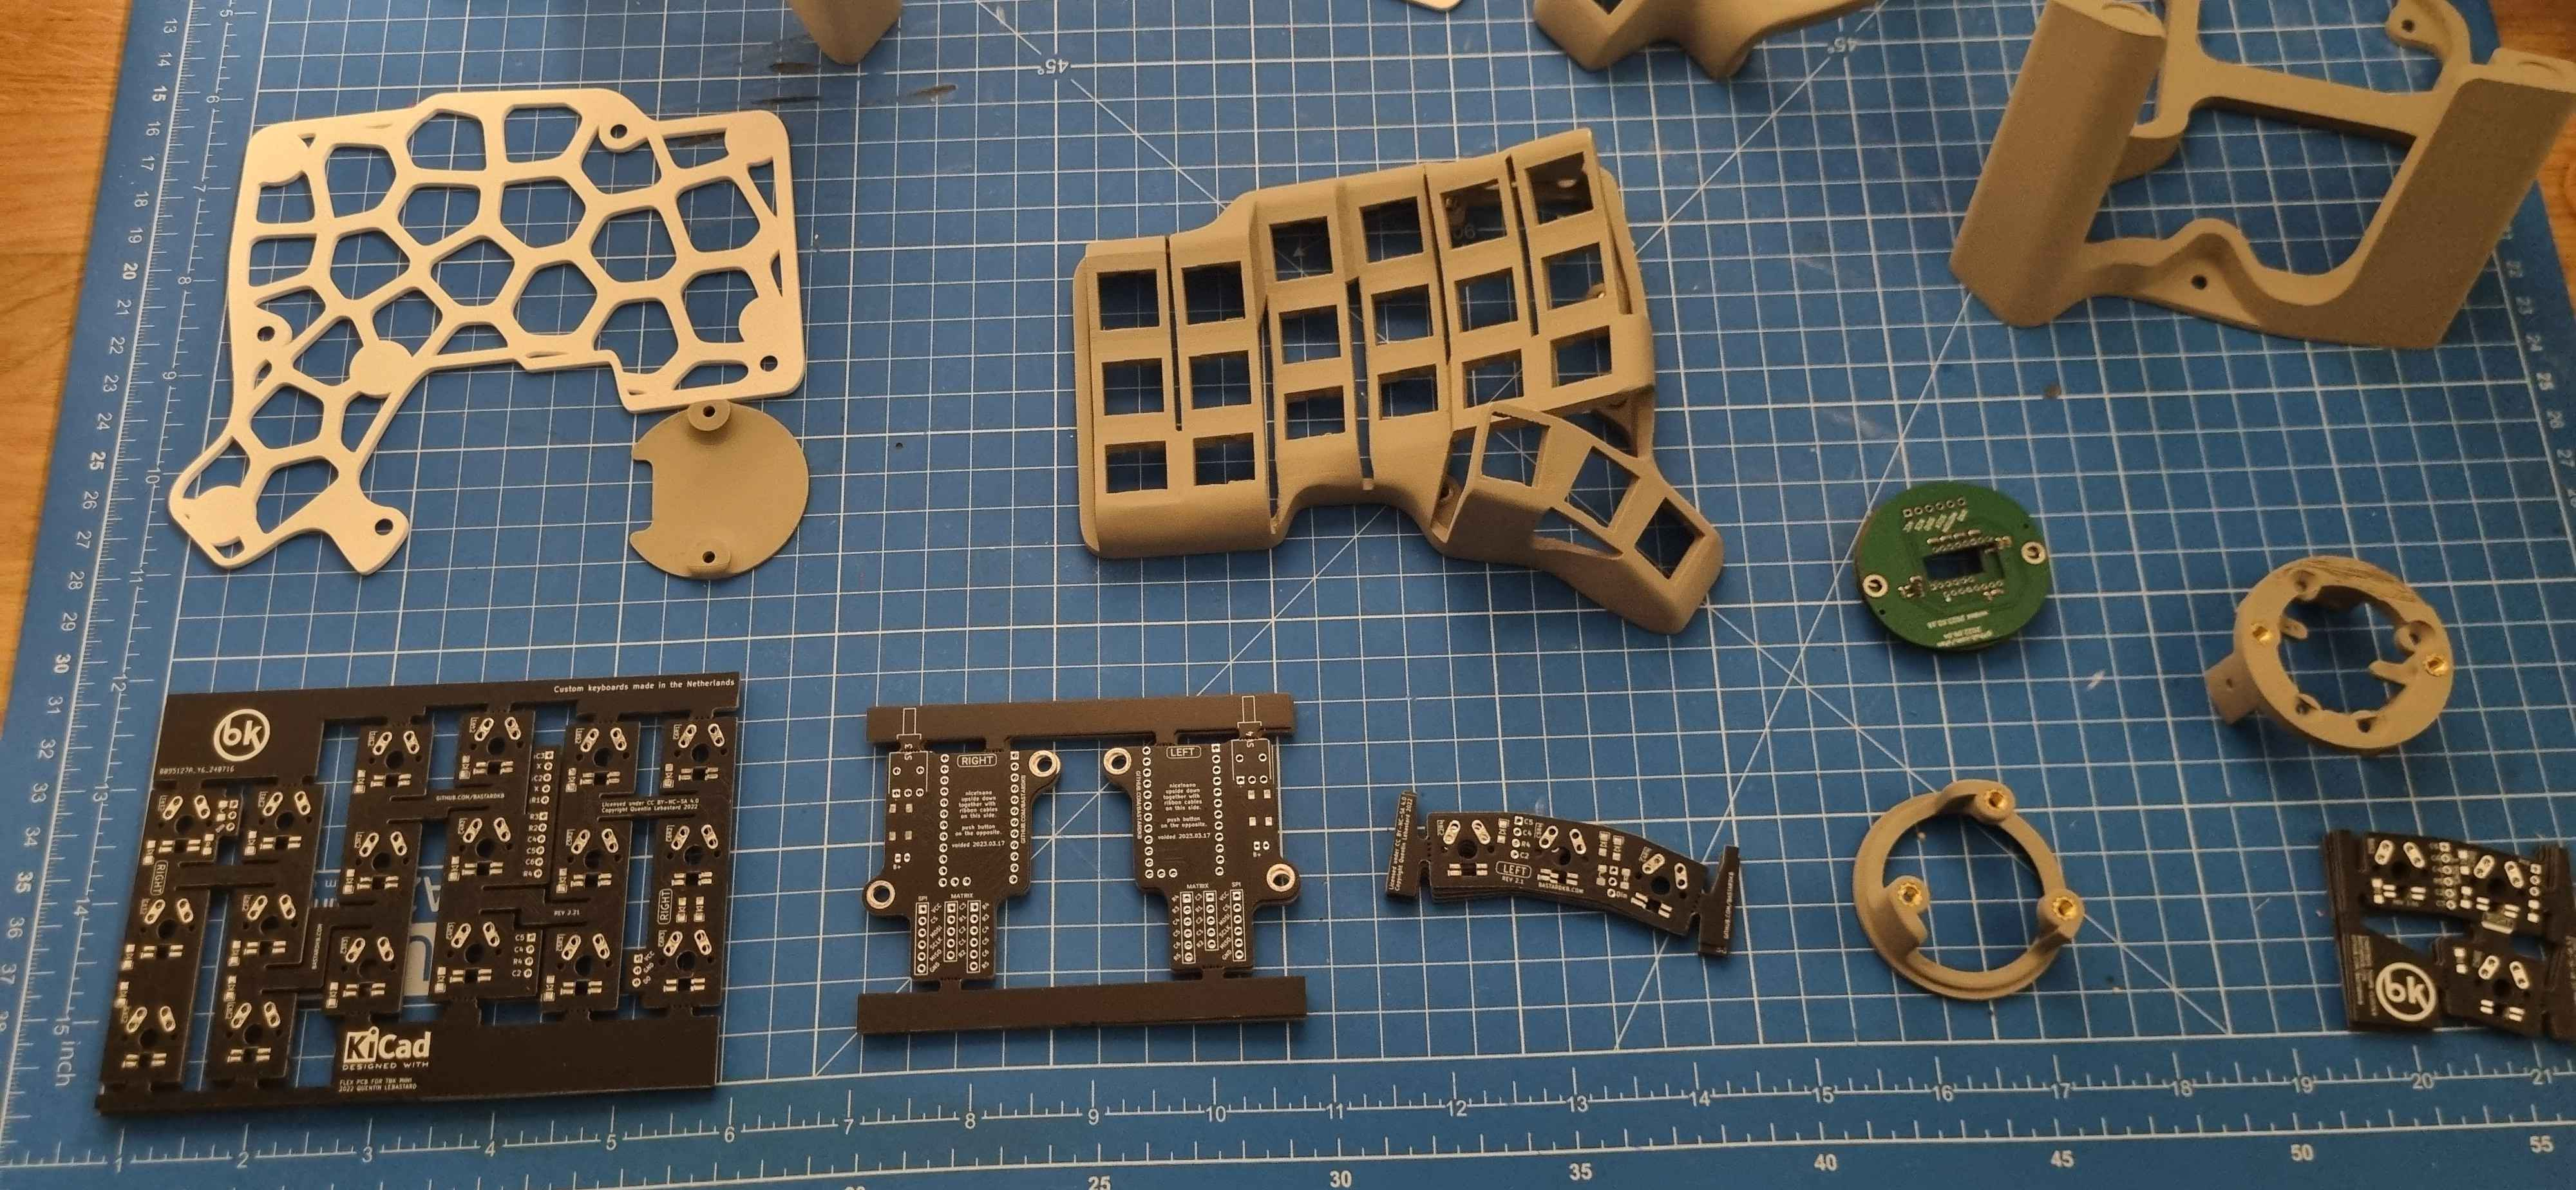
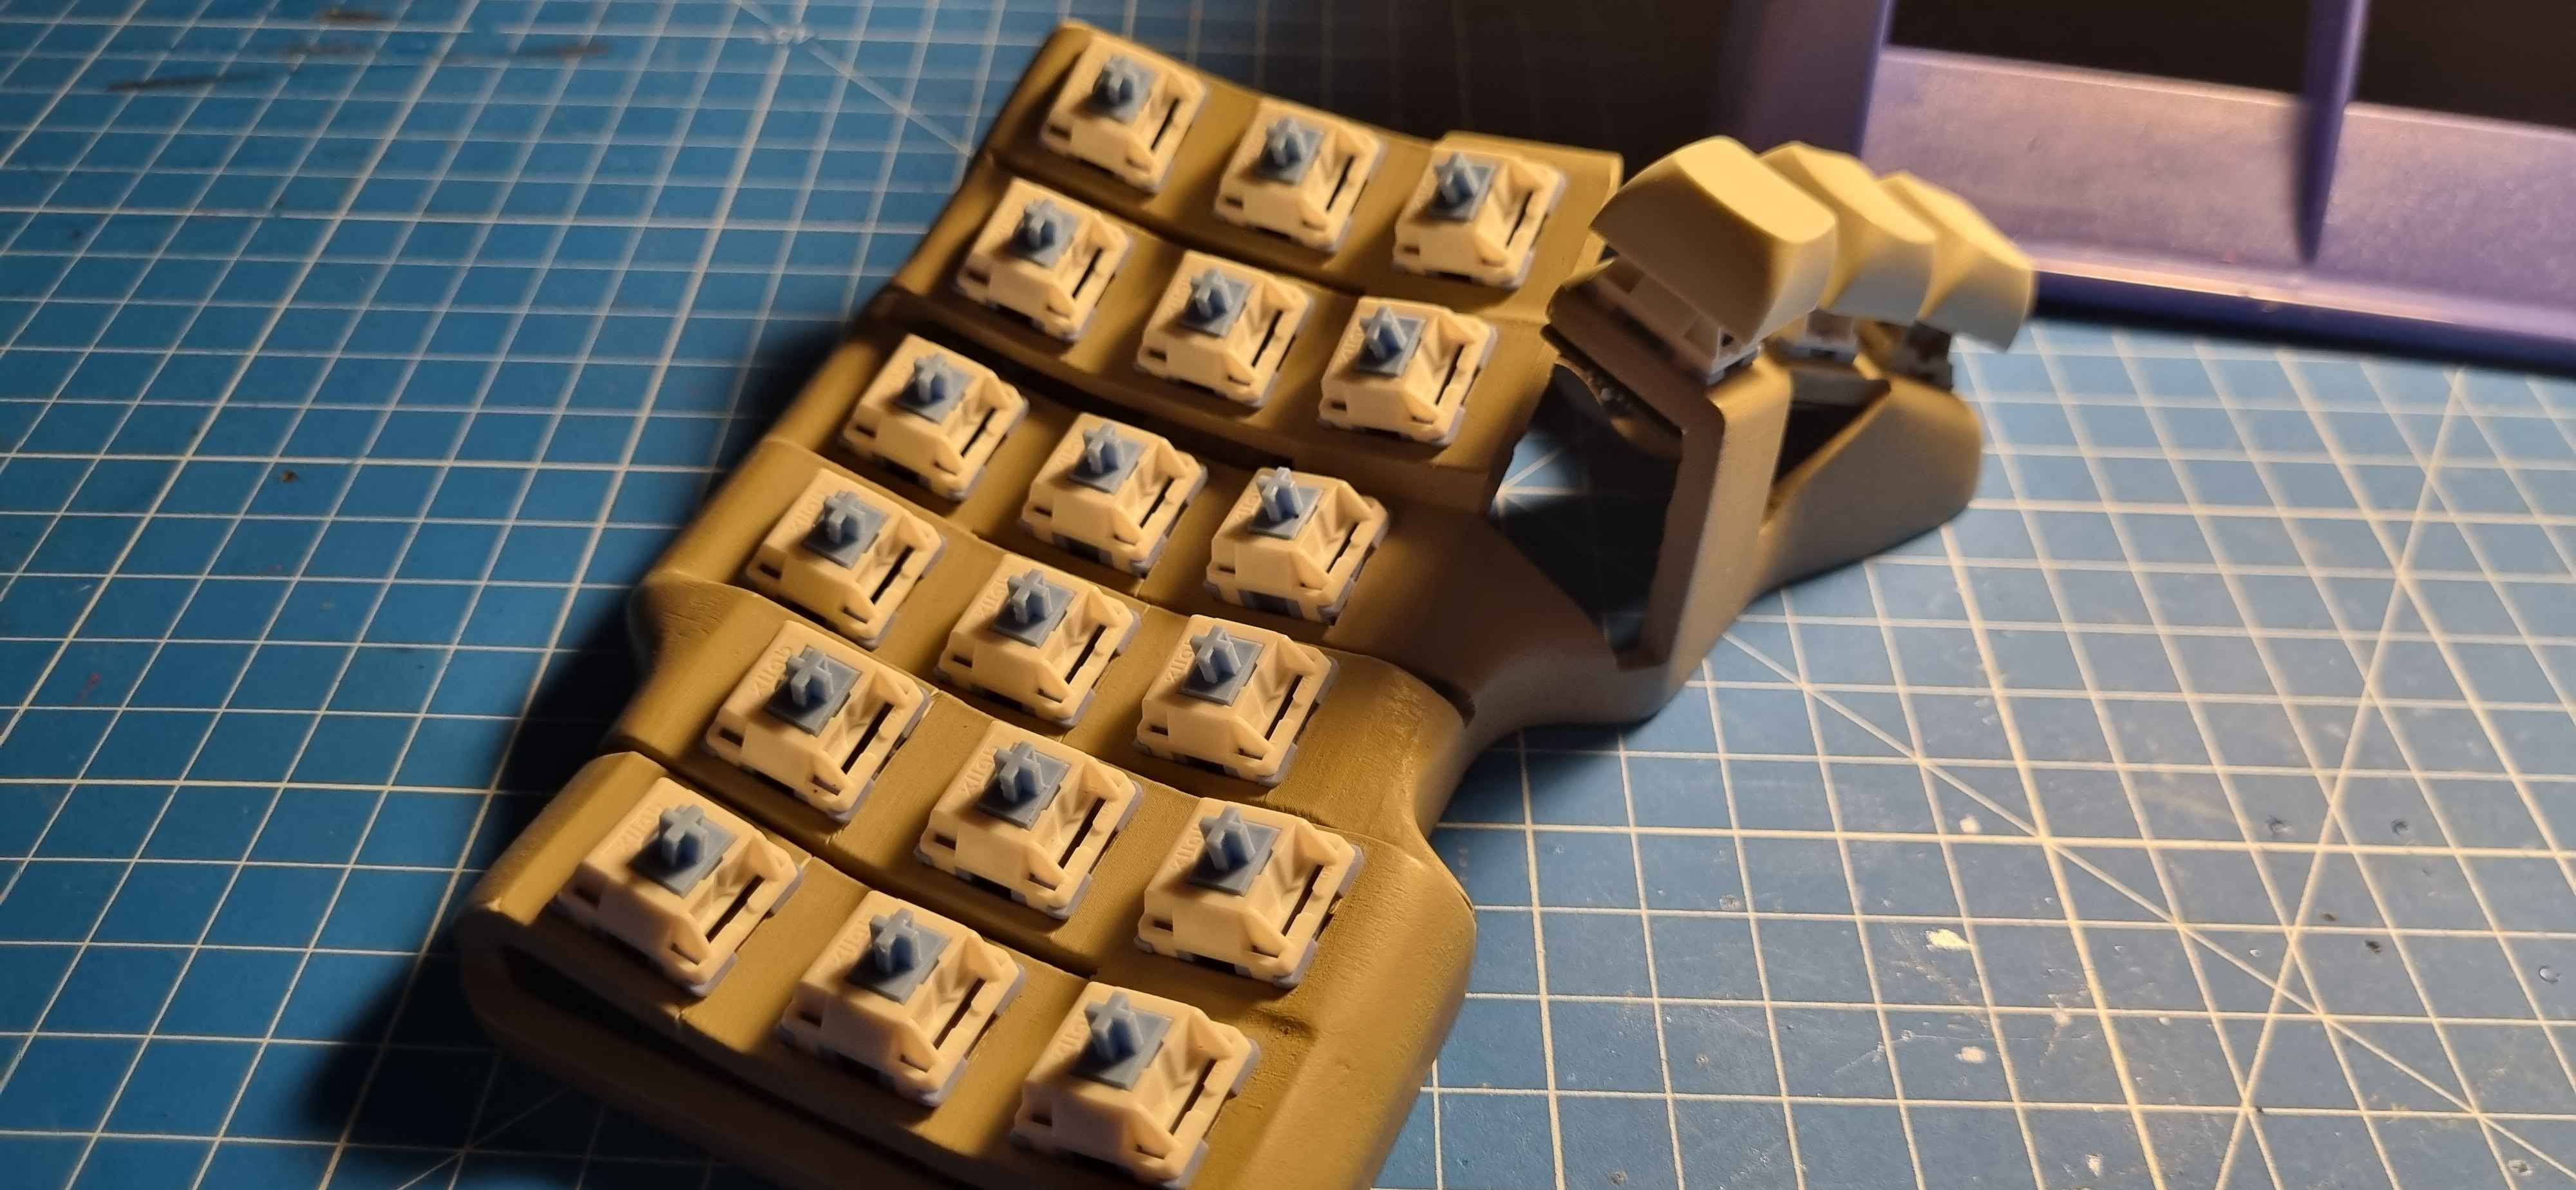
3D prints
I got a 3d printer myself so it was straight forward to get the cases printed out. I’m still new with 3D printing, so the part came out not that great. However, they are not too bad after some sanding and painting.
3D models referencing from erenatas’ links

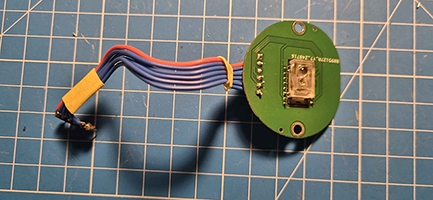
PCBs
Again I followed erenatas guide for this section and ordered the pcbs from JLCPCB.
Note: for the PMW3610 Breakout.
I had to update the bom file by remove the empty top and bottom row.
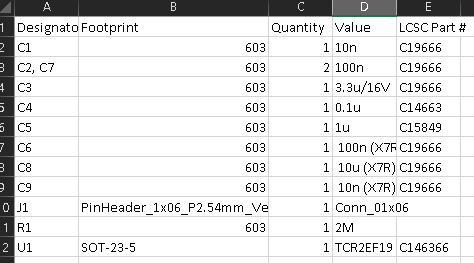
I too run into the same issue with TCR2EF19 shortage, so I had to ordered the TLV70018DDCR regulator.
and only the bottom side is required for assemble, the top bit I can solder the cables directly to the board.
Assembly
I’m not going to list out the steps, it’s already covered in the videos and erenatas’ guide. Instead I’ll list out the pain points/problems that I had to go through, so you don’t have to:
1 - Don’t force the pcb, if the switch feet can be soldered, then it’s good enough. I learnt the hard way after I broke a pcb in half.
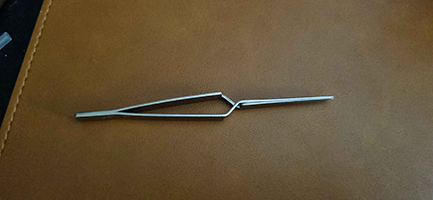
2 - This tool is necessary, if you only have one pair of hands.
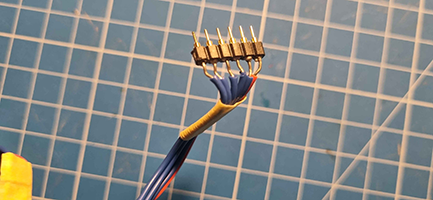
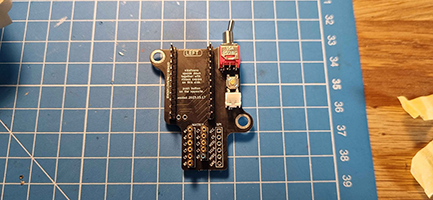
3 - I couldn’t get hotswap done on the controller due to the headers that I got are too tall and it would not fit into the usb-c holes, so I ended up soldering the controllers to the nano holders. I don’t know if the low profile headers would fit, try out with your own risk.
4 - The case pocket space for the controller is smaller than I think it is. Be very gentle when fit in the flex strips, battery and power switches. Watch out where the flex strip cables come out of the pcb, I’ve broken 2 pcbs when I try to force the controller in (┬┬﹏┬┬). Also I had to solder the flex cables into the pcb, and only use the headers on the nano holder.
5 - If you’re planning to use the tent only version, solder the headers the other way, so you don’t have fit the flex cable into the pocket space. The cable would then hang below the cases.
6 - Remember to test out the pcb once you have solder all the diodes, flex cables and able connect to the nano holder.
7 - Do the right side first, as it’s the main board that talk back to the computer.
8 - When I finished both sides, they did not auto connect. To fix this issue I had to reset the boards by pressing both reset buttons at the same time.
9 - Test with the cable connected to the right board first. Make sure bluetooth is connected from the left board to the right board (with the usb cable connected from the right board to your pc). Once that tested then move on to test both boards with bluetooth connection to the pc.
10 - Issue ‘Paired but unable to connected to the pc | constantly connect then disconnect | And forget the connect but not able to re-pairing again.’ If you have these symptoms, map BT_CLR to a key to clear all the bluetooth profiles, or try to figure out where this key is mapped, then you should be able to pair again.
Here is my zmk repo that I forked from grassfedreeve
Be patient, don’t rush. I made this stupid mistake of rushing because of the excitement and broke 4 pcbs and a nano controller. Don’t be like me. It was painful waiting for the deliveries on the pcbs again.
I’ve learnt a lot working on this project and it’s really fun journey. I hope you are too, if you’ve decided to build one for yourself.
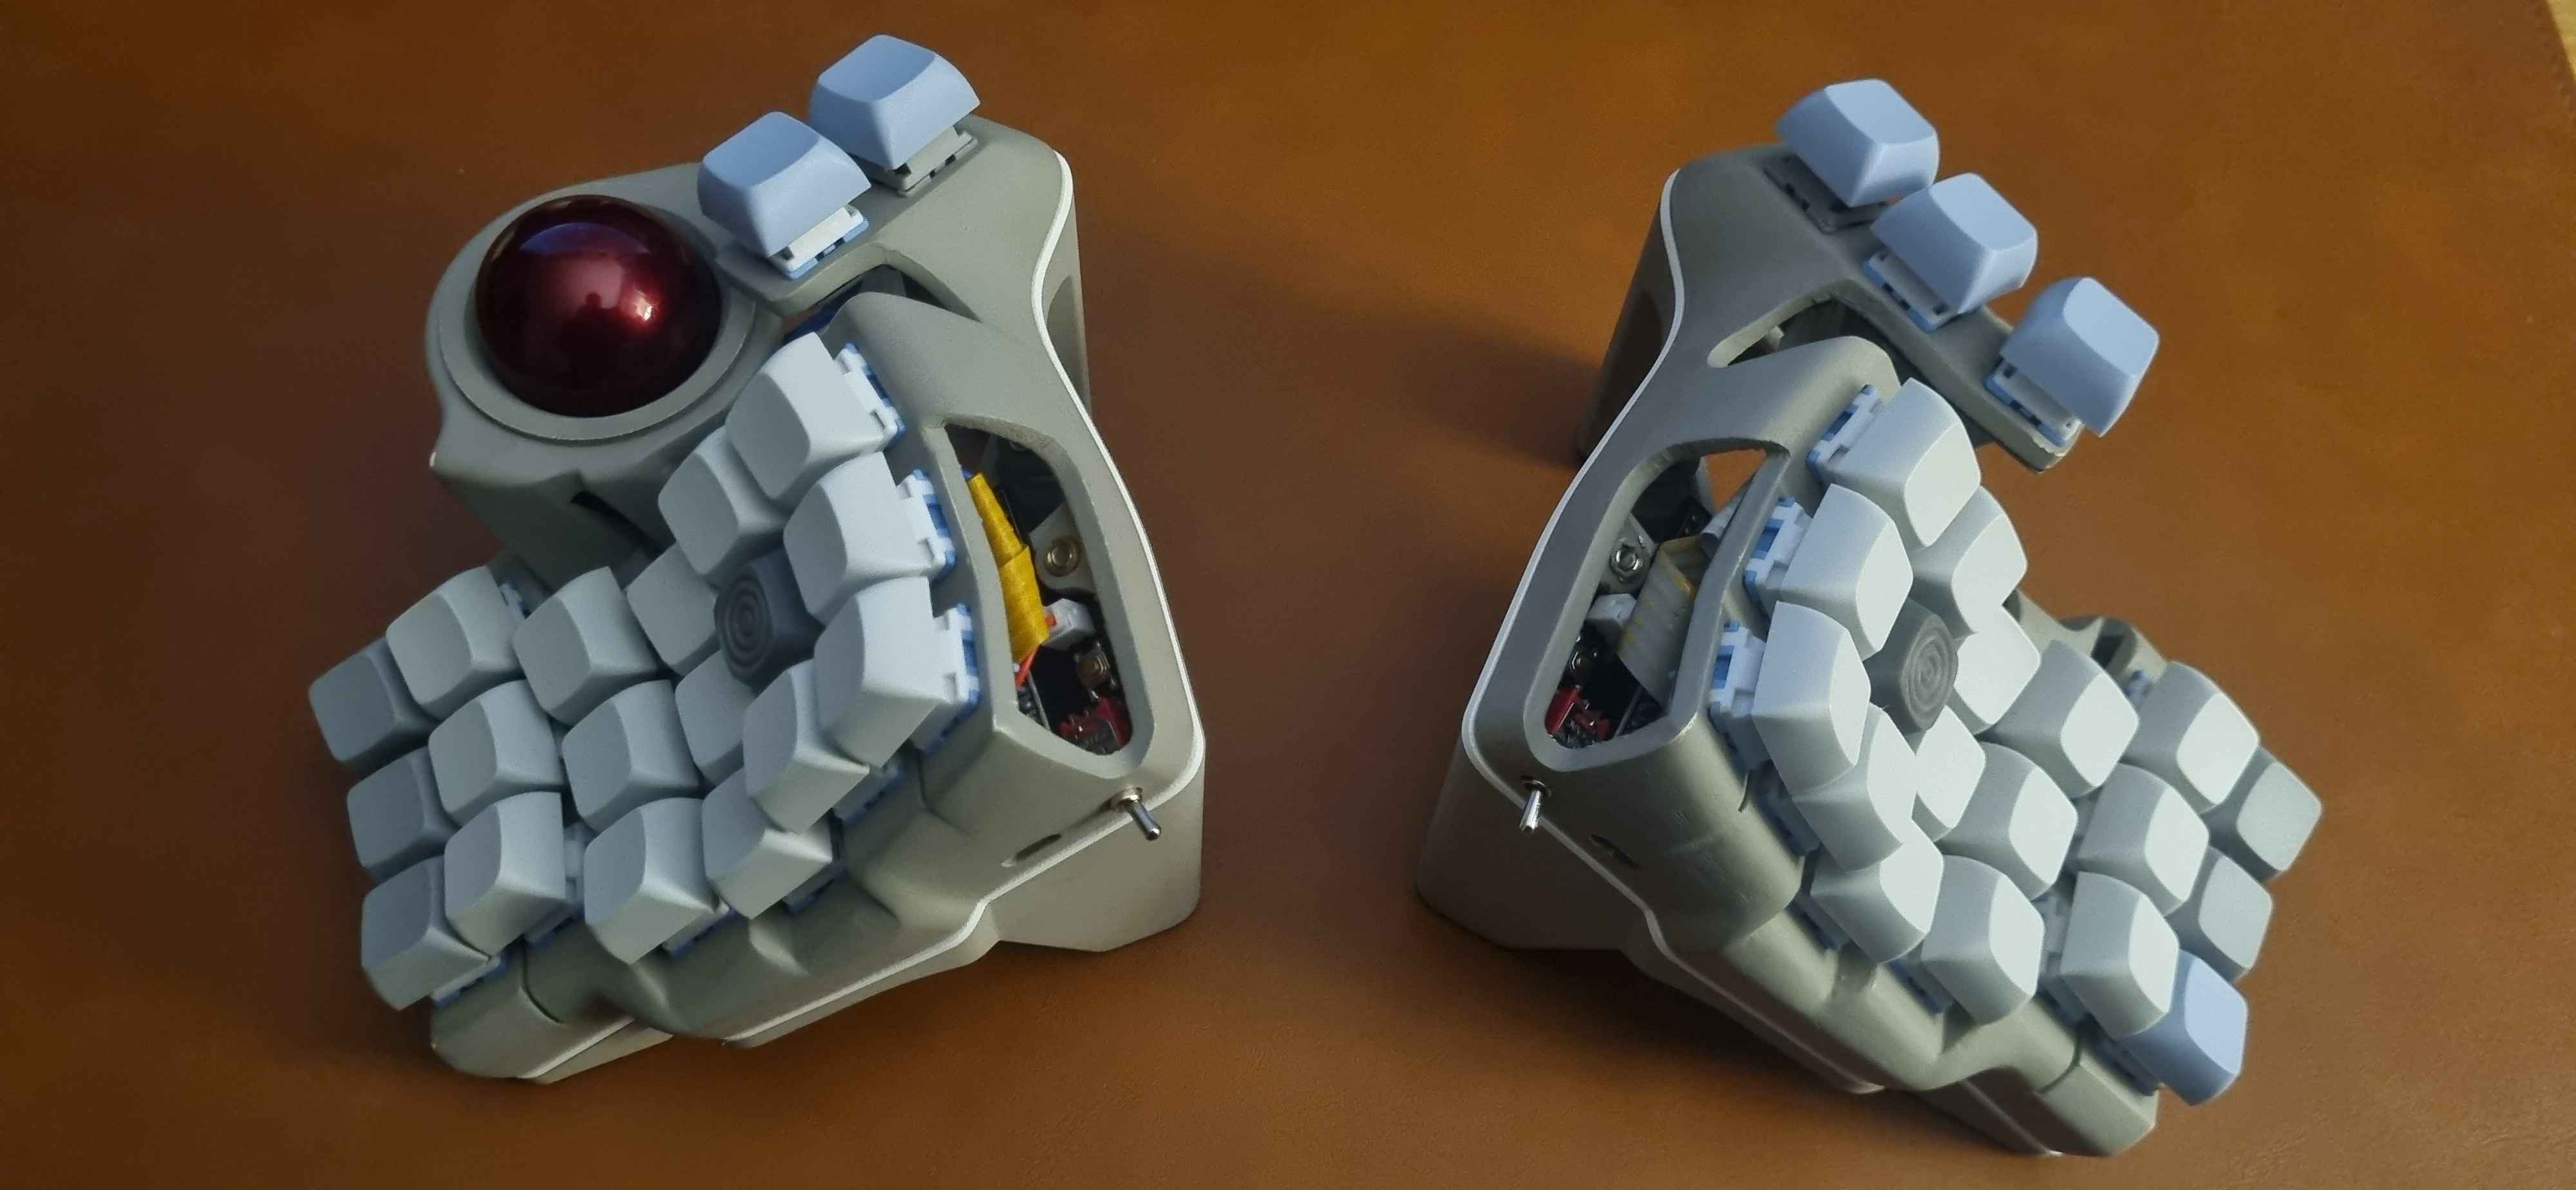
Here are some pictures of the boards.
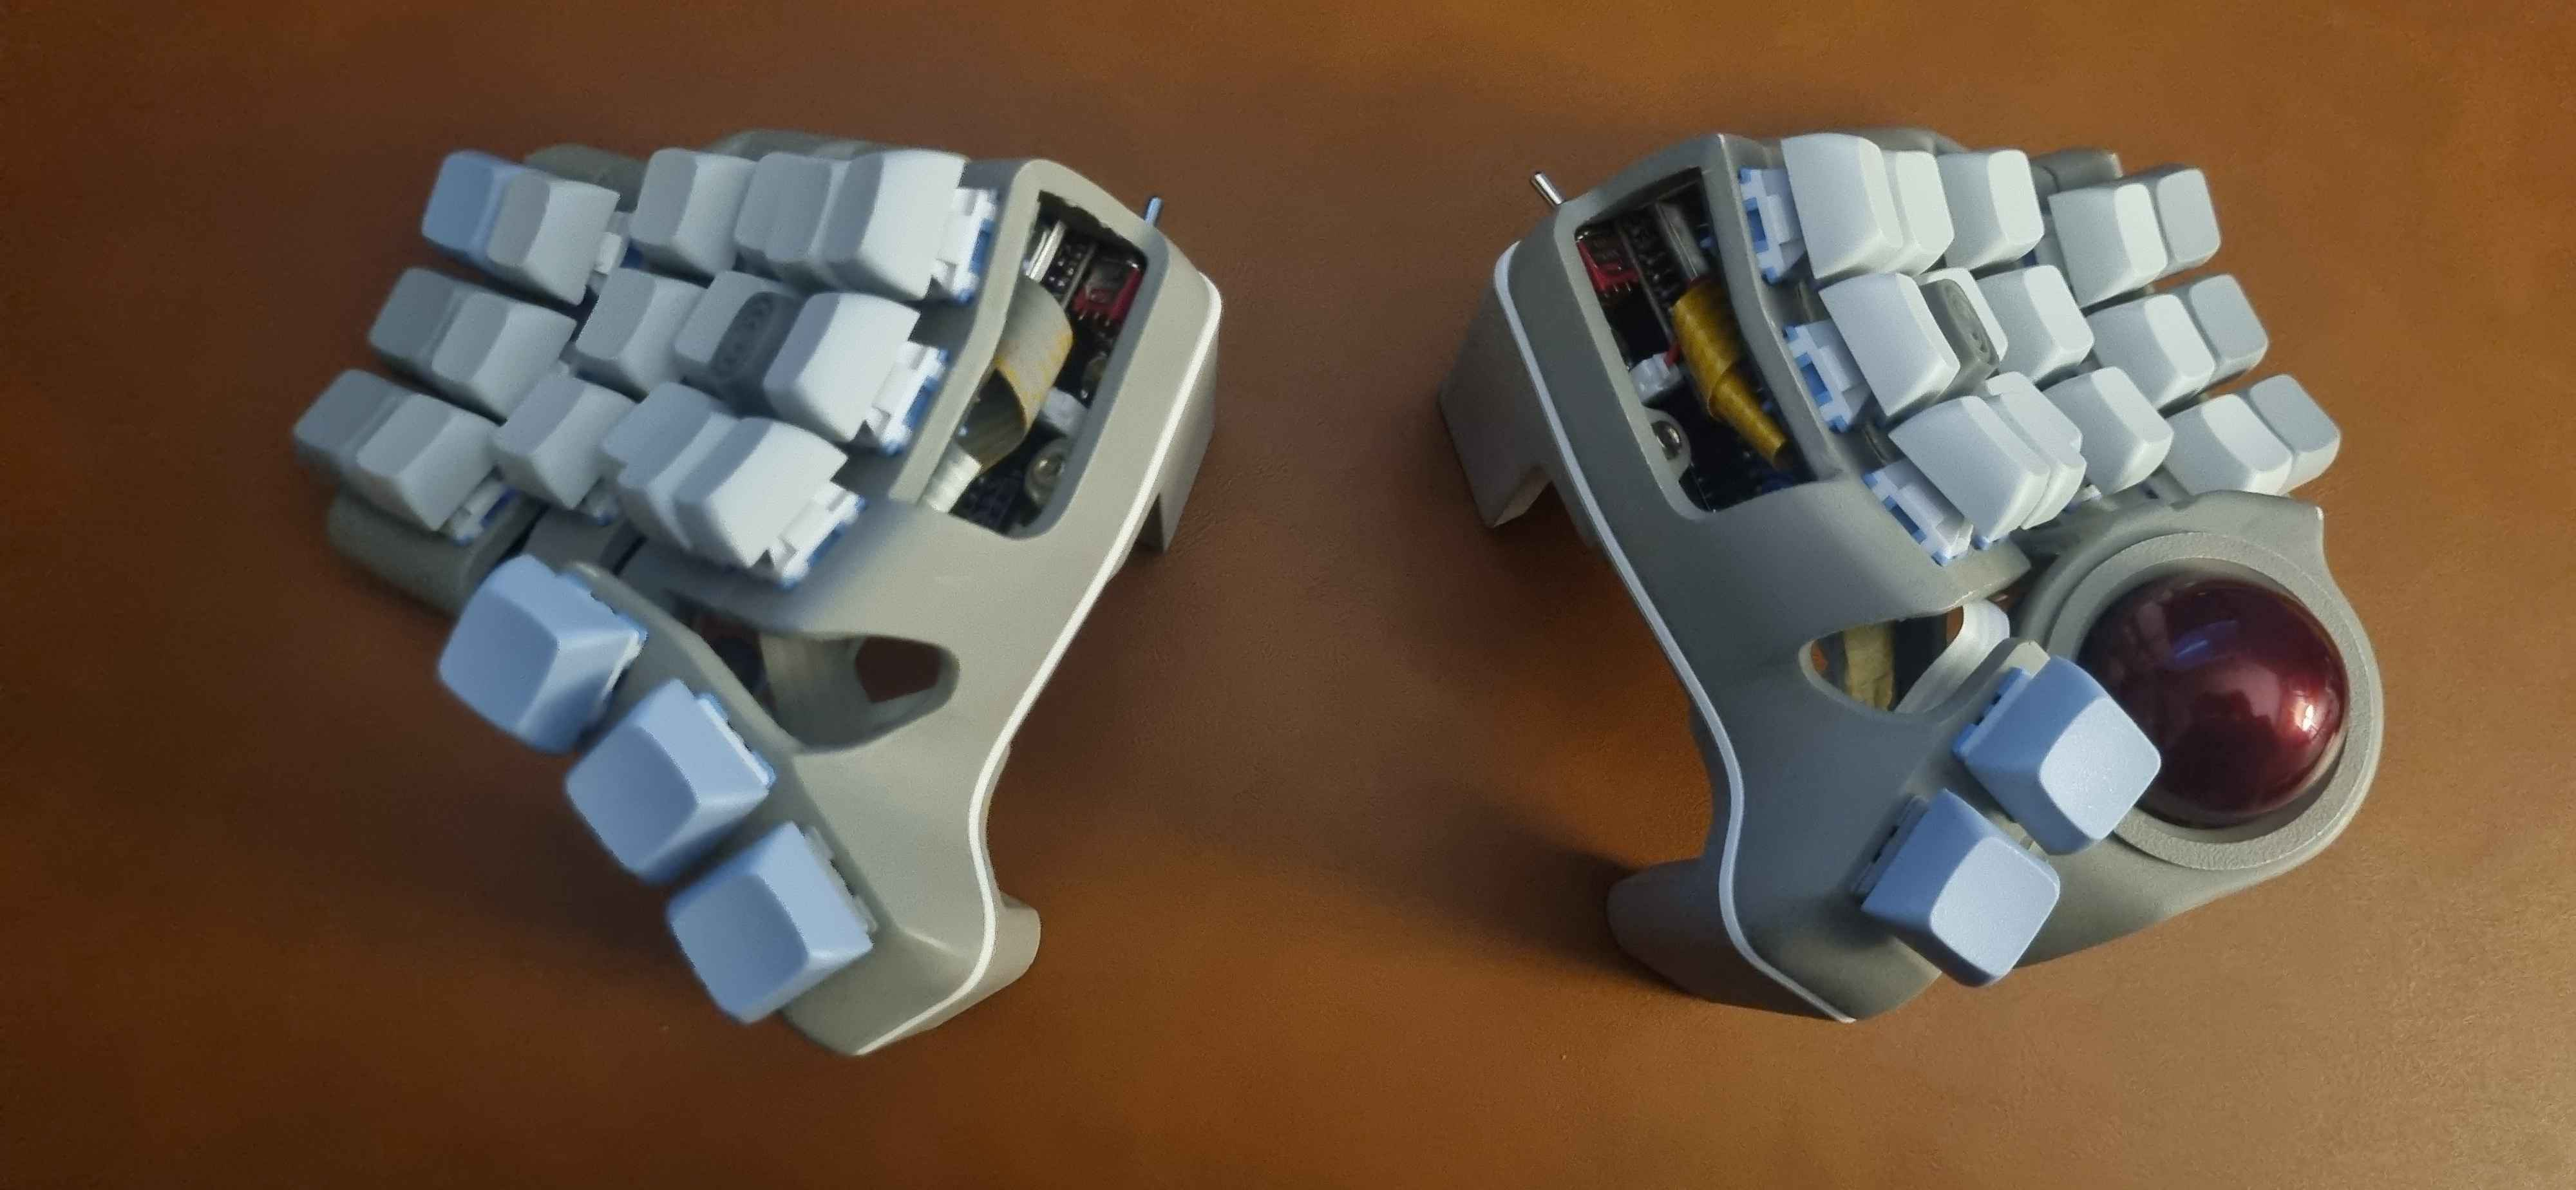
Ps. Half of this blog was typed by this Charybdis keyboard ;)